Join Wizard
Joins are defined based on constraints. If the two Assets being joined meet all the constraints then they can be joined. However, in many cases one or more constraints may not be met and modifications need to be made to one or both of the Assets in order for the Join to be made.
To understand constraints let’s look at joining two Straights.
|
|
In order to join the two existing Straights the following must be true:
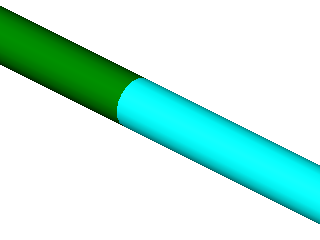
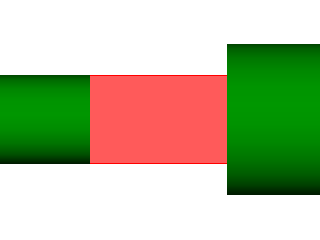
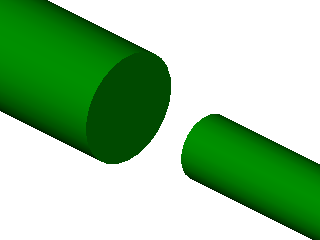
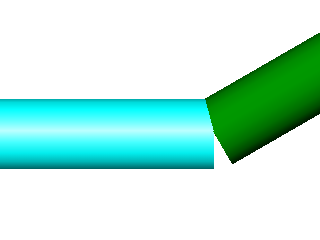
- The existing Straights must have the same diameter.
|
|
Diameter Constraint Met |
Diameter Constraint Failed |
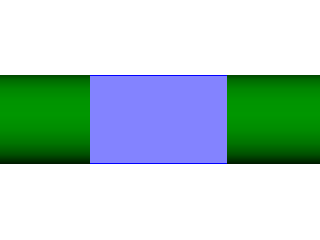
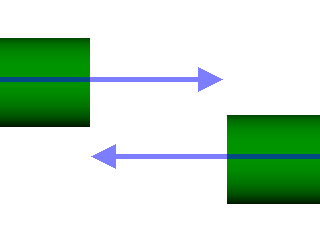
- The existing Straights must have the same (or opposite) direction.
|
|
Direction Constraint Met |
Direction Constraint Failed |
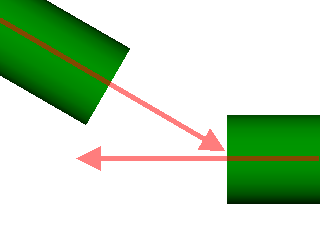
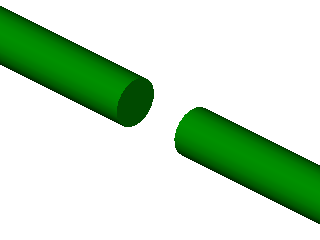
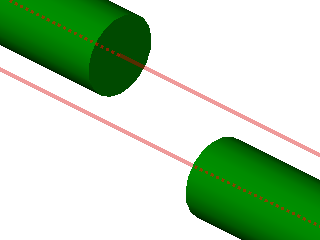
- The existing Straights must lie on the same axis.
|
|
Axis Constraint Met |
Axis Constraint Failed |
If all of these constraints are met then the two Straights can be joined perfectly. However, if one or more of these constraints are not met then one or both of the existing Straights need to be modified and this is done using the Join Wizard.
There are two scenarios where the Join Wizard is displayed:
- Whenever two Assets are being joined and all of the required constraints are not met.
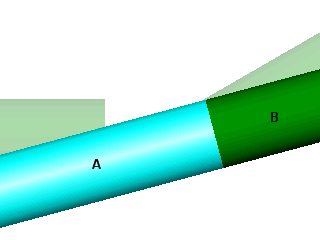
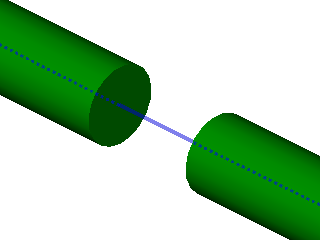
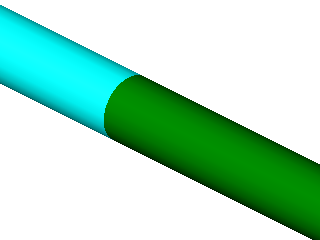
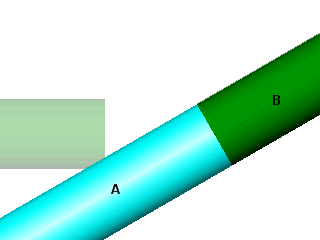
For example, joining two Straight Assets whose directions are parallel and share an axis but have different diameters will be result the Join Wizard being displayed to allow the user to choose which Straights diameter should be modified.
|
|
Straight Assets with a common axis but different diameters. |
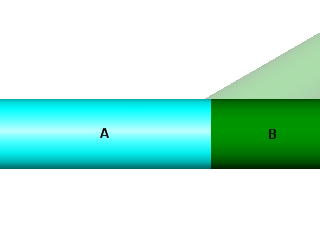
Join Wizard will be displayed allowing the user to choose which Straight will be modified. |
- The user forces the Connection Wizard to be displayed by holding down the ALT key during a join operation.
EXAMPLE
In all of these cases the wizard steps the user through the join process providing them with full control over how the Assets are going to be joined and how the Assets are going to be adjusted in order to meet any constraints.
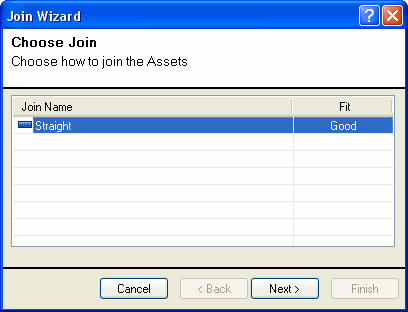
The first page of the Join Wizard shows the different ways the two Assets can be joined. If there is only one way to join the two Assets then this page will be skipped automatically. As well as the name of the Template there is also an indication of how good of a fit the Template would make based on the Connection Points. The scale ranges from Perfect to Poor. A Perfect fit means that all constraints have been met, Good means only one constraint needs addressing, OK means two constraints need addressing, and Poor means three or more constraints need addressing.
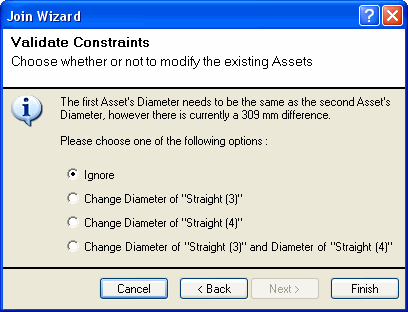
The subsequent pages of the Connection Wizard are all about addressing those constraints which haven’t been met. Each constraint is handled differently but the user is always given four choices:
- Ignore - This option will ignore the constraint completely which typically results in a crooked or bad join.
- Modify Asset A - This option will only modify Asset A. Asset A is always the Asset whose Connection Point the user clicked on first. The option will always show the name of the Asset which will be modified in order to help the user determine which Asset is going to be modified.
- Modify Asset B - This option will only modify Asset B. Asset B is always the Asset whose Connection Point the user clicked on last. The option will always show the name of the Asset which will be modified in order to help the user determine which Asset is going to be modified.
- Modify Asset A & B - This option will modify both Assets. The option will always show the names of the Assets which will be modified in order to help the user determine which Assets are going to be modified.