
Hide Asset
It is possible to hide specific assets displayed in the viewer. This helps for example when the user needs to hide obstacle or distraction assets, such as walls, roofs or other structures. Hiding assets helps increase the efficiency of viewing assets in the viewer.
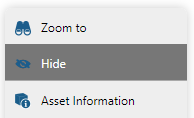
To hide an asset, first pick the asset in the viewer window and then select the Hide command in the asset context menu.
It is possible to perform the hide action repeatedly. That way complex structures that comprise of more than one asset can be hidden to help clear the viewed model from unnecessary barriers.
Hiding an asset will also hide all of the Marked Points that are attached to the asset. |
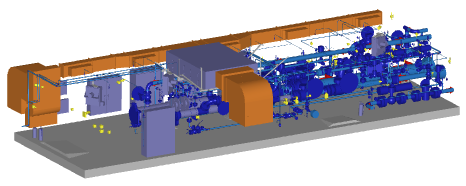
Before hiding: |
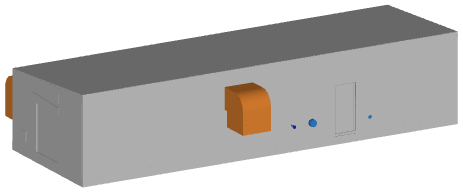
After hiding the "Walls", "Roof" and "Doors" assets: |
|
|
Hidden Assets panel
All assets that have been hidden are listed in the Hidden Assets slide-out panel. Click on the Hidden Assets tab to manually display or hide the slide-out.
You can also configure the Hidden Assets slide-out to automatically expand when the first asset gets hidden. See the Auto Expand preference on the UI Preferences form. |
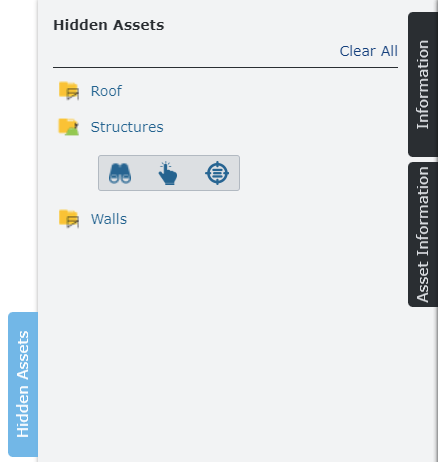
Clicking on the name of one of the listed hidden assets expands a toolbar with available commands:
|
Zoom to the boundaries (extents) of the hidden asset. |
|
Pick the hidden asset in the viewer. A picked hidden asset is shown in the viewer using a transparent appearance. |
|
Select the hidden asset in the content browser. |
Click the Clear All link in the top right-hand corner to clear the hidden assets list and to unhide all assets inside of the viewer.
Picking hidden assets
It is possible to pick an asset which is hidden in the viewer by using one of the available Pick commands (in the Content Browser or inside of the Hidden Assets panel).
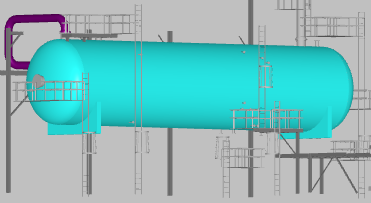
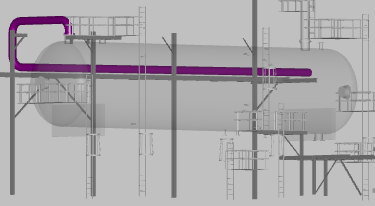
A picked hidden asset is shown inside of the viewer using a special gray-transparent appearance. The transparent appearance is used to clearly indicate that the asset is currently hidden.
Normal picked asset: |
Hidden picked asset: |
|
|
Once the asset gets unpicked, it disappears from the viewer again.