Double Point Insert
This method is most commonly used when building models using scan points. The idea is that the user will not be able to pick the center point to insert an Asset but they will be able to select two points, one on each side of the Asset so then the midpoint can be used to insert the new Asset.
- Display some Assets in the Asset Window along with some scan points.
- Select the “Insert” tool by either:
- Clicking the “Insert” button on the toolbar -

- From the Asset View menu, under Modelign Tools, select Insert.
- Using a keyboard shortcut, see Assigning Keyboard Shortcuts for more information.
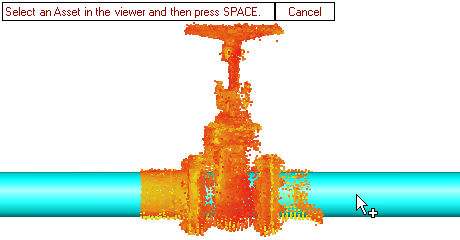
- Follow the onscreen instructions and “Select an Asset in the viewer and then press SPACE”.
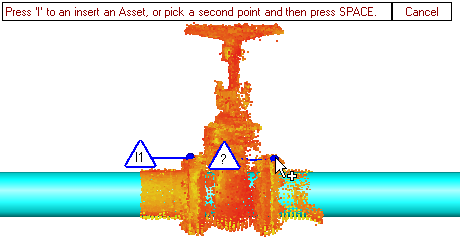
- Follow the onscreen instructions and “Pick an insert point”. The user can continue to click, each time moving the question marker, until the desired point is chosen. The user can also pick snap points by holding down SHIFT.
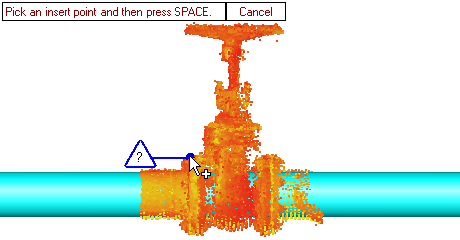
- Press SPACE to accept the chosen position, the follow the onscreen instructions and “Pick a second insert point”. The user can continue to click, each time moving the question marker, until the desired point is chosen. The user can also pick snap points by holding down SHIFT.
- Press SPACE to accept the chosen position (this step can actually be skipped).
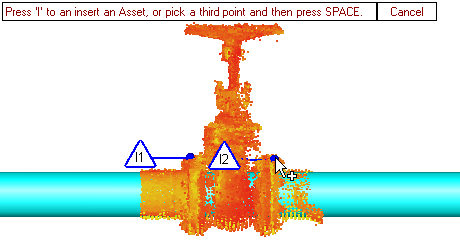
- Press the ‘i’ key to display a menu containing all the Assets that can be inserted into the chosen Asset at the specified position. If only one Asset can be inserted then the menu will not be displayed and the Asset will just be inserted automatically.
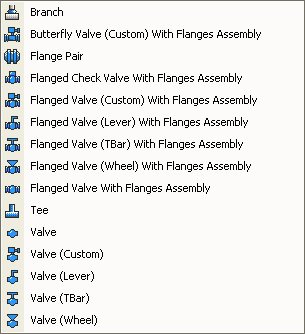
- Click on an item in the menu and a new Asset will be created and displayed in the Asset View. The properties of the new Asset will be determined as follows:
- The new Assets position will be based on the midpoint of “I1” and ‘I2”.
- The new Assets orientation will be determined by the midpoint of “I1” and ‘I2” and the position of the selected Asset.
- The parent of the new Asset in the Asset Explorer will be the same as the selected Assets parent.
|
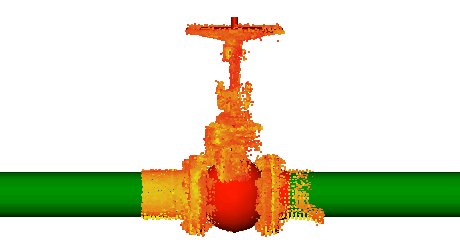
In the example above the user could also have chosen two points on the Valves handle, rather than choosing two points on its flanges. |
|
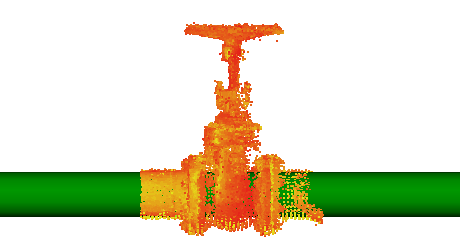
User can choose two points on the hand wheel rather than on the valves flanges. |
|
A similar Valve is created regardless of which points were used. Although picking the points on the hand wheel may result in a better orientation. |